
OUR LATEST POSTS
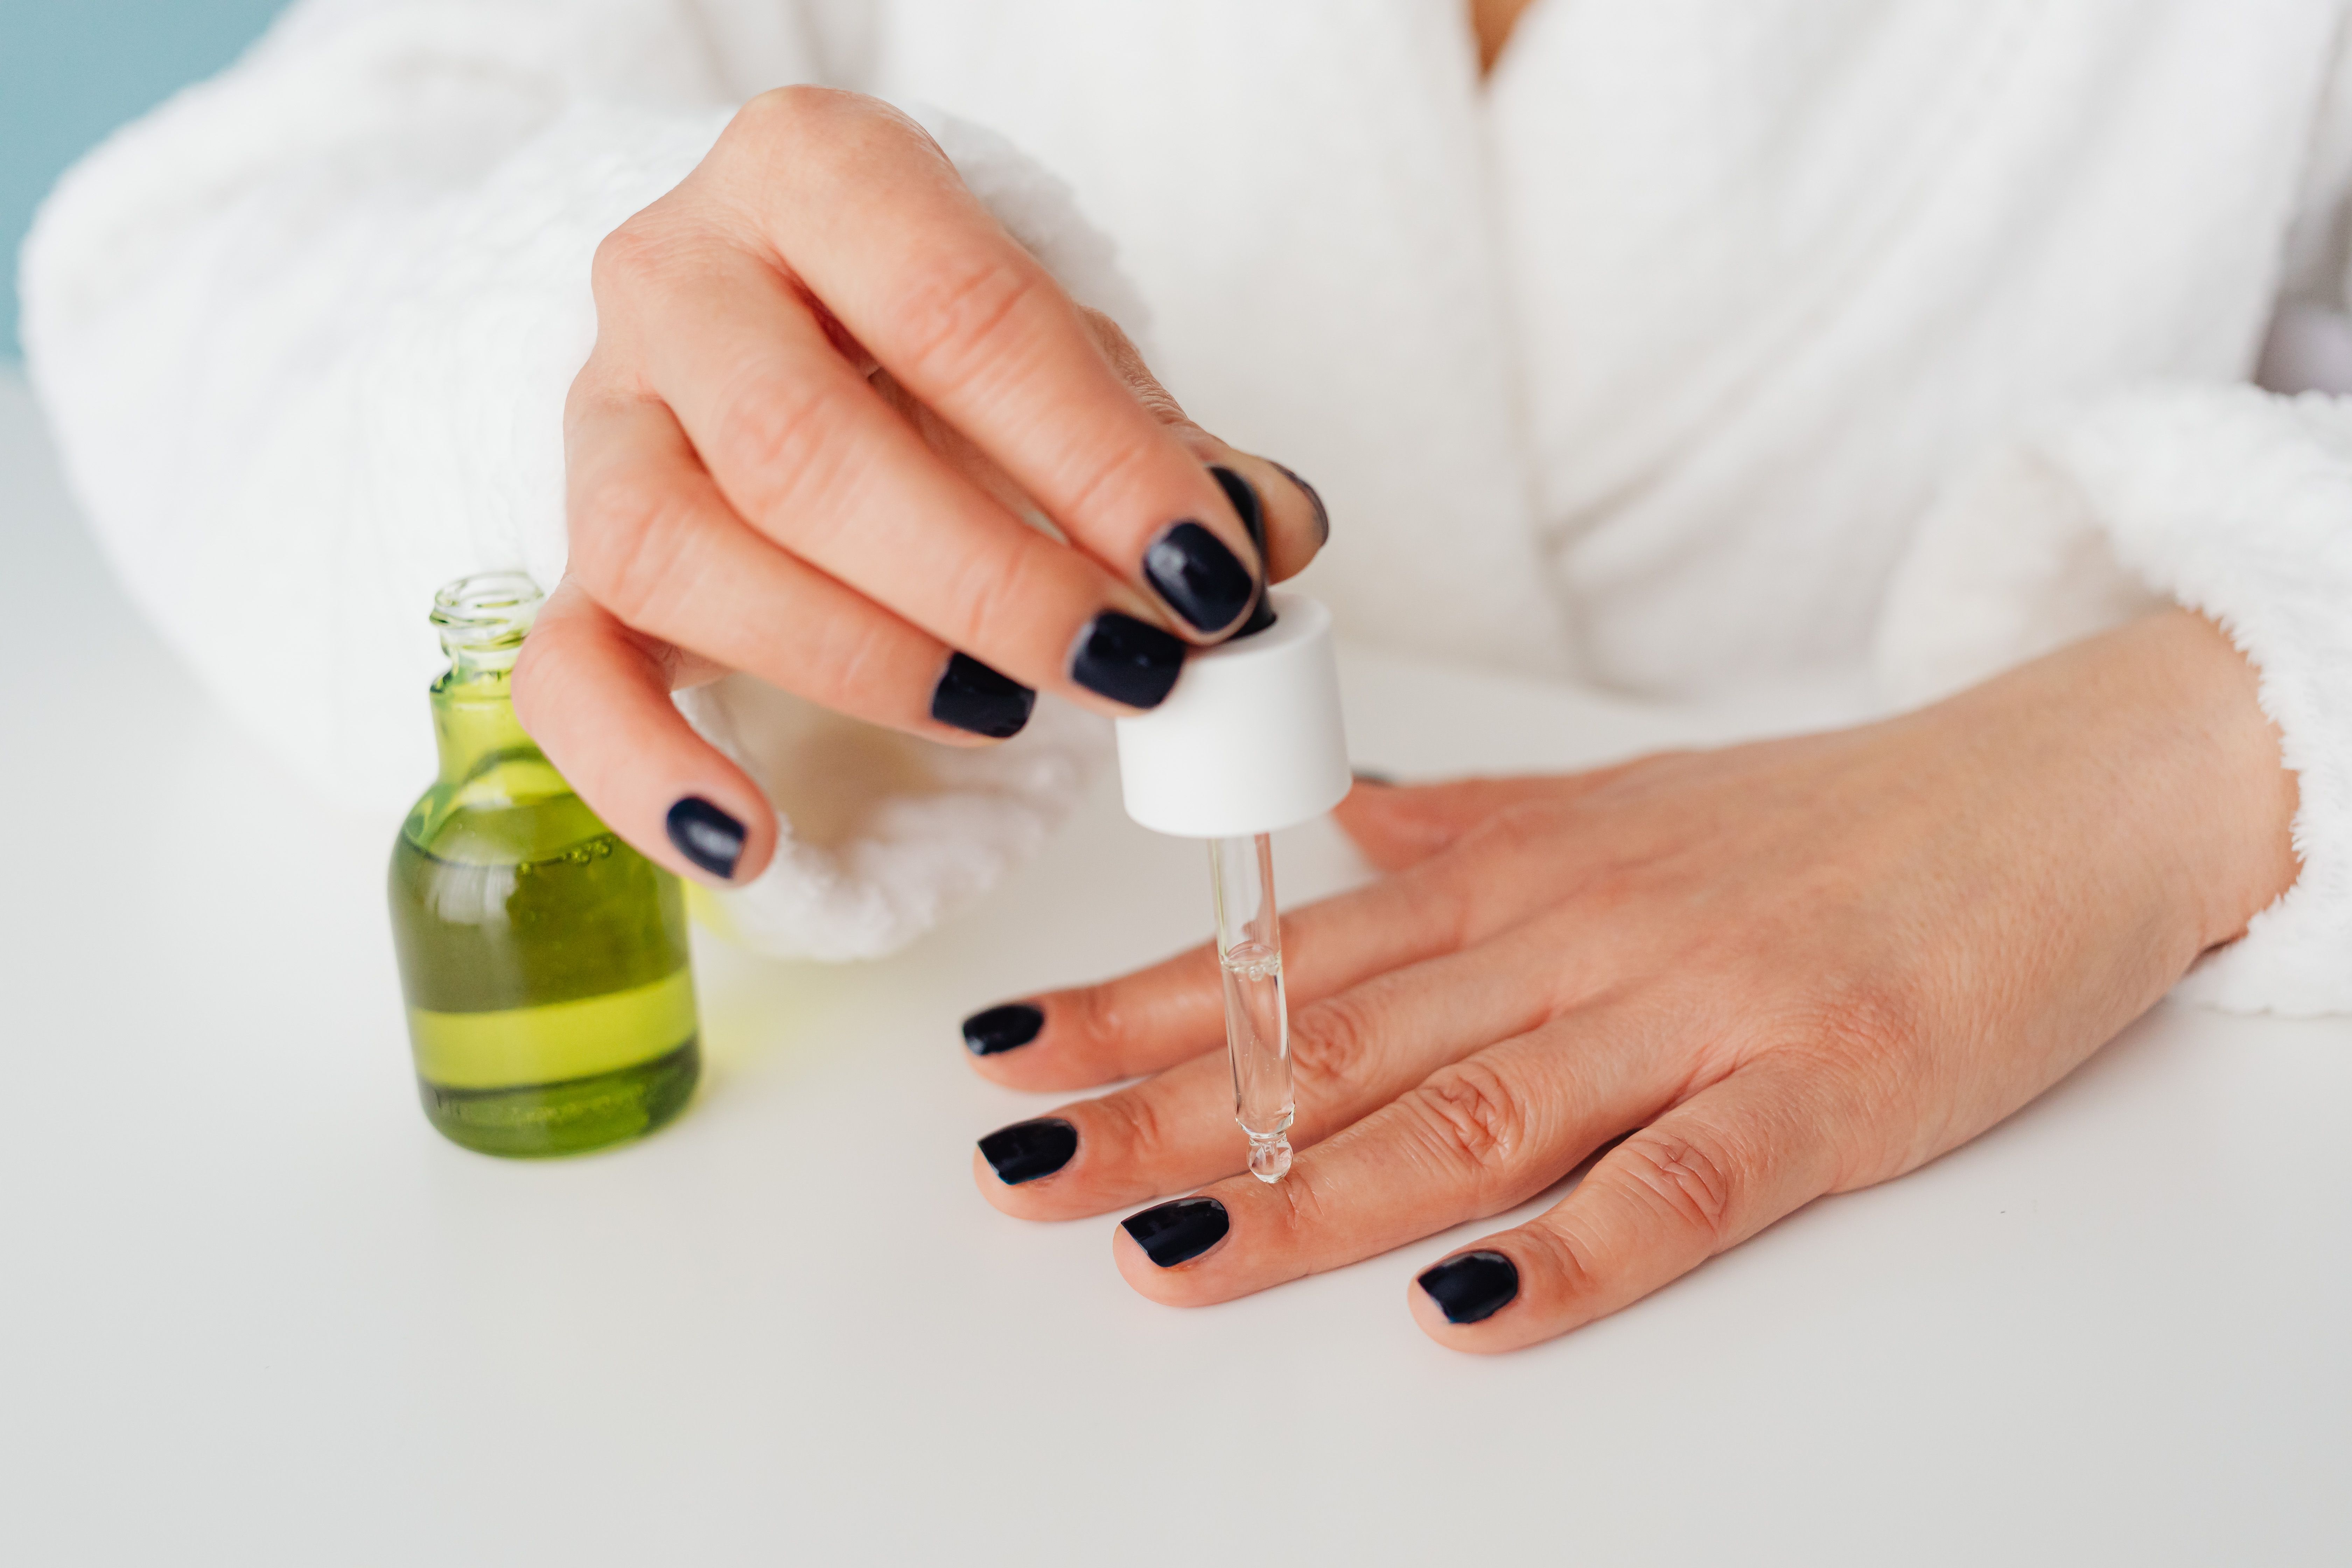
How to Make Your Manicure Last Longer: The Prep Secrets Nobody Talks
We've all been there: you spend an hour giving yourself a gorgeous manicure, step out the door feeling unstoppable, and by day three you're staring at a chip on your thumbnail wondering where it all went wrong. If this sounds familiar, we have good news—the secret to a manicure that actually lasts isn't a fancier top coat or a pricier polish. It's what happens before you ever pick up a brush.
Let's talk about the unsung hero of every long-lasting manicure: prep.
Why Nail Prep Matters More Than the Polish You Choose
Here's the truth most beauty tutorials skip over: polish and stickers don't fail because they're low quality. They fail because of what's underneath them. Natural oils, invisible residue, and moisture on the nail plate create a barrier that keeps color from truly bonding to your nail. No matter how skilled you are with a brush or how premium your polish is, if your nail bed isn't properly prepped, you're fighting a losing battle from the start.
Think of your nails like a canvas. A painter would never start on a dusty, oily canvas and expect the paint to hold—and neither should we. Getting your nails "canvas-ready" is the single biggest factor in whether your manicure lasts three days or three weeks.
Step One: Strip Away Oils With a Proper Cleanser
This is the step we see skipped the most, and it's the one that makes the biggest difference. Before any color, base coat, or sticker touches your nail, you need to remove the natural oils and surface residue that build up on your nail bed throughout the day.
This is exactly where the Lemon Aid Cleanser — by WashaBrush earns its spot in our routine. A quick swipe lifts away oils and old product residue while gently tightening the nail bed, giving you a clean, slightly matte surface that color and adhesive can actually grip onto. It's a small step that takes under a minute, but it's the difference between a manicure that peels off in the shower and one that's still going strong at week two.
We like to think of it as the equivalent of primer before makeup—it's not the glamorous part, but it's the part doing all the heavy lifting behind the scenes.
Step Two: Shape, Buff, and Push Back Cuticles (Gently)
Once your nails are clean, take a few minutes to shape them with a file, buff away any ridges on the surface, and gently push back your cuticles. Ridges and rough patches create tiny air pockets under polish or stickers, which are basically an invitation for lifting and chipping. A smooth surface means smooth, even application—and application that actually stays put.
We recommend going slowly here. Rushed filing can lead to uneven edges that catch on fabric and clothing, which is often how a "randomly" broken nail actually happens.
Step Three: Never Skip the Base Coat
A base coat isn't just about protecting your natural nail from staining—it's a bonding layer that helps whatever goes on top of it stick better and last longer. If you're using traditional polish, this step is non-negotiable. If you're using nail stickers, a thin base coat can still help smooth out the surface for a flawless application.
The No-Chip, No-Fuss Alternative: Nail Art Stickers
Here's something we've fallen in love with over the last year: nail art stickers. If chipping is your biggest manicure frustration, stickers solve a lot of the problem simply by design. They apply as one smooth, even layer—no streaks, no drying time, no waiting around with your hands in the air.
Our current favorite are the Nail Art Stickers — by Winstonia. They come in gorgeous, ready-to-wear designs that look salon-made, and because there's no wet polish involved, there's no risk of smudging while it dries. You can be out the door in minutes with a manicure that looks like it took an hour.
But here's the catch worth remembering: stickers are only as good as the nail underneath them. Even the most beautifully designed sticker will lift early if it's applied over oily, unprepped nails. That's why we always start with the Lemon Aid Cleanser first—it creates the clean, oil-free surface that lets the adhesive truly bond, so your sticker manicure wears evenly all the way to the edges instead of curling up at the tips after two days.
Step Four: Seal It In
Whether you've gone with polish or stickers, sealing your manicure with a glossy top coat helps lock everything in place and adds a protective barrier against daily wear—dishwater, keyboards, gym bags, and all the small frictions our hands go through every day. Reapplying a thin layer of top coat every few days can meaningfully extend the life of your manicure without requiring a full redo.
Small Daily Habits That Extend Your Manicure
A few gentle habits go a long way:
• \1 Hot water and soap break down adhesive and polish faster than almost anything else. • \1 to avoid softening the seal too early.
• \1 for opening cans, scratching labels, or prying things apart. We know the temptation is real.
• \1 rather than waiting, since one small lift can peel further if left alone.
The Real Secret: It's Never Just About the Polish
If there's one thing we want you to take away from this, it's that a long-lasting manicure is built in layers you can't see just as much as the ones you can. The cleanser that strips away oils, the smooth surface underneath, the base coat that bonds everything together—these unglamorous steps are what let your favorite polish or your prettiest sticker set actually shine for days instead of hours.
So next time you're prepping for a manicure, give the process the respect it deserves. Start clean, build smart, and let your nail art do the rest. Your hands—and your schedule—will thank you.
One or more of the links above are affiliate links, meaning, at no additional cost to you, we will earn a slight commission if you click through and make a purchase. Each of these products is chosen by a trusted member of our team